Description
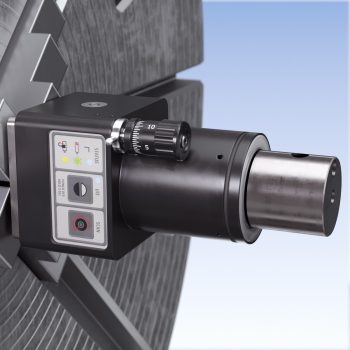
The L-702SP is laser designed for aligning linear axis on machine tool axes, as well as aligning spindles to the guideways, or subspindles/tailstocks. It has a .500 (12.7 mm) mounting stud that his chucked up in the spindle, where the laser can be aligned to the rotation axis with the 2 built-in angular adjustments. It also features as an automatically rotating turret with a prism that can be flipped into the laser beam to create an ultra-flat and perpendicular laser plane for measuring flatness of surface but also squareness of linear axes. It is a very versatile laser that can be used on all kinds of alignment applications.
It is typically packaged with our T-1295 5-Axis, Wireless, Multi-Purpose Scan & Spindle Target. The T-1295 can measure flatness, straightness and squareness of linear axes and surface and can also measure pitch and yaw angular errors. It can be used in 2-axis Beam Mode or in single-axis Scan Mode for use with the L-702SP’s scan plane or any of our L-730/740 Series planar lasers.
The kit is small and compact and with it’s resolution of .00002 in. (0.0005 mm), it is ideal for highly accurate alignment of smaller machining centers, lathes and multiturn machines.
Applications
Automotive
- Rotary-Dial Machines
- Transfer-Lines
Bore Alignment
- Bore parallelism
- Compressor-bore squareness and concentricity
Machine Tools
- CNC Machining Centers and Milling Machines
- CNC Gantries and Floor Mills
- Cylindrical, OD/ID Grinders
- Horizontal Boring Mill Indexing Checks for Deep-Bore Applications
- Lathes and Turning Centers
- MultiTurn Machining Centers
- Rotary-Dial Machines
- Transfer-Line Spindle Alignments
Plastics Processing
- Injection Molding Machines
Features
- Vertical and horizontal (pitch and yaw) angular adjustment with a resolution of .000025 in/ft (0.002 mm/m) and a range of ± 2.0°.
- Straight Beam Mode for aligning spindles to subspindles or tailstocks.
- Scan Mode for measuring flatness and squareness of surfaces and machine axes.
- Center resolution of .00001 in. (0.00025 mm) and angular resolution of .00001 in/ft (0.0008 mm/m).
- L-702SP mounts in the spindle to project its axis of rotation out to 100 ft (30 m).
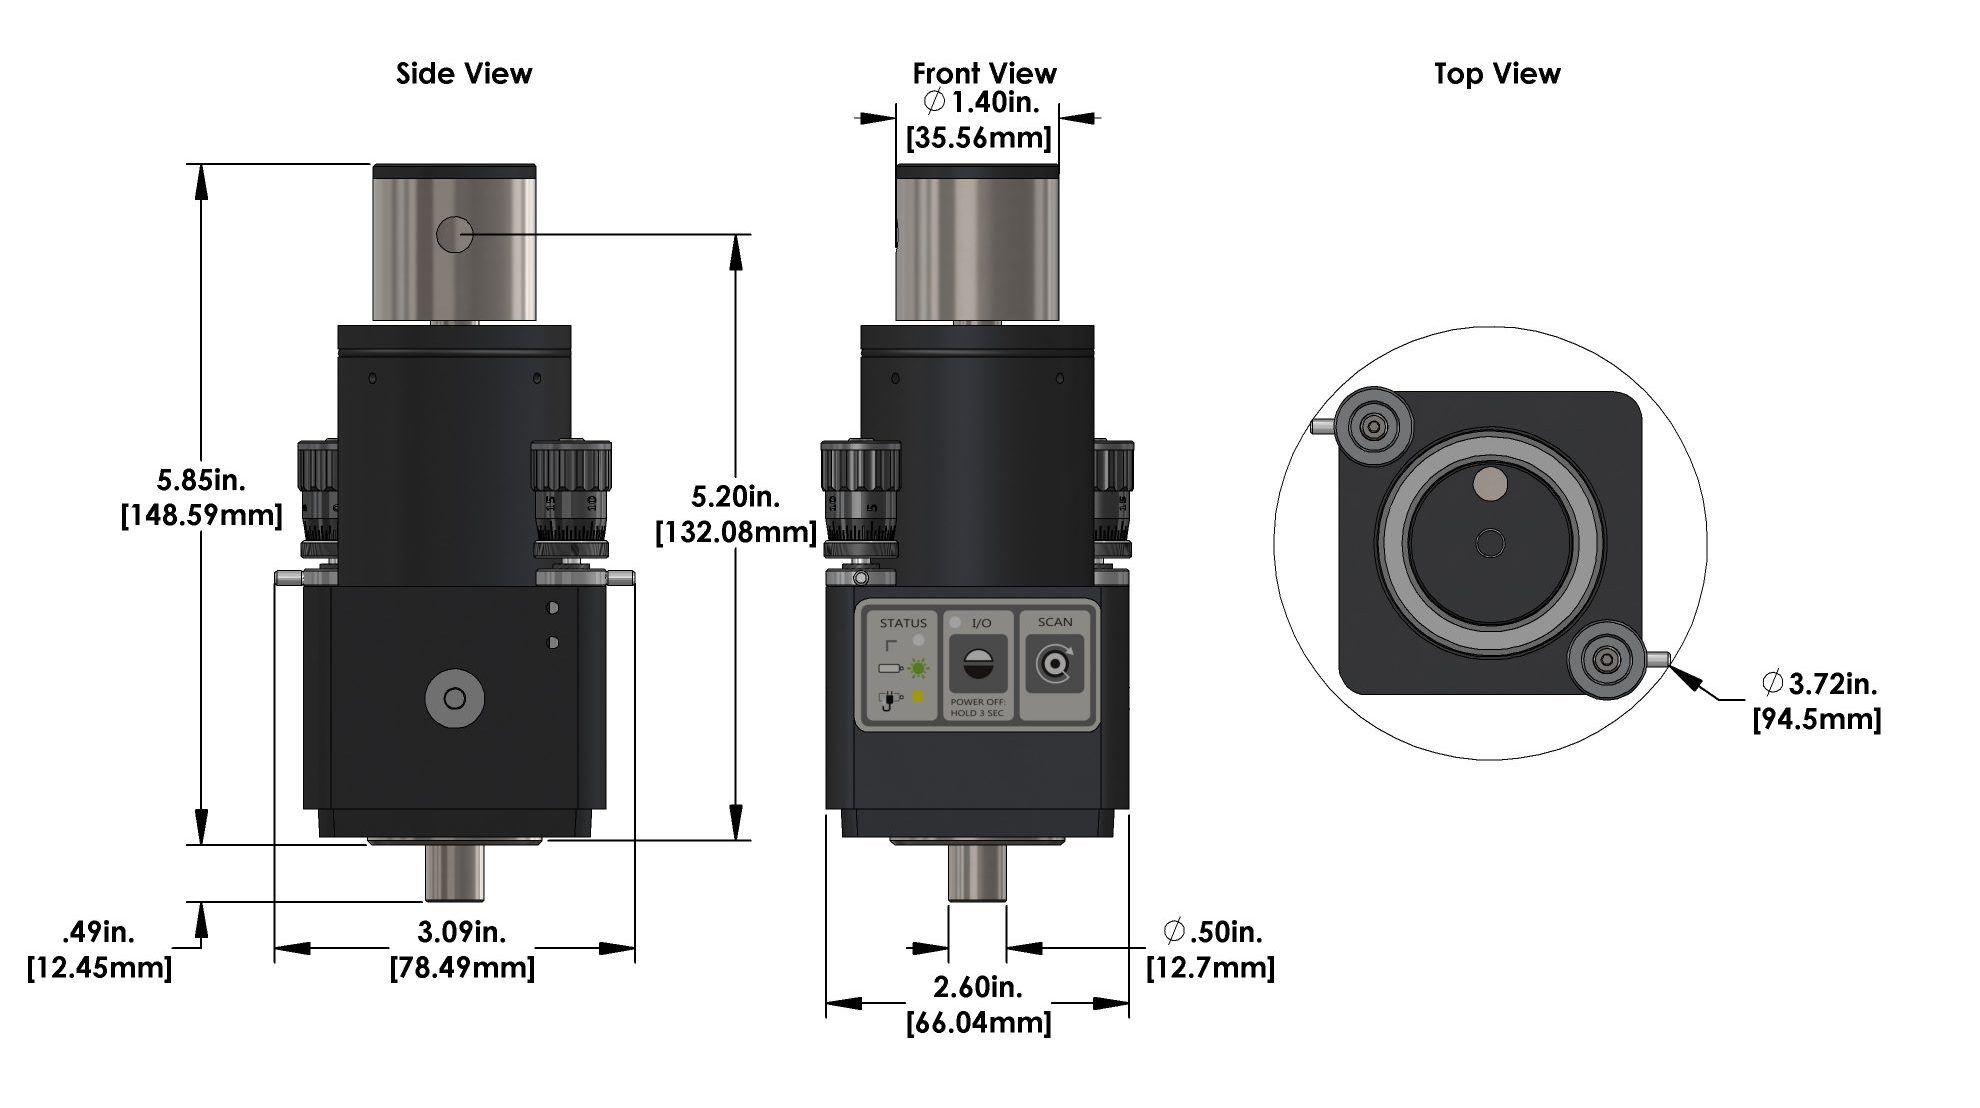
- The laser and target both offer a .500 in. (12.7 mm) mounting stud for simple fixturing to hold them in place.
- Realtime measurement data in all 5 alignment axes.
- Windows 7/8/10-based MultiTurn10 Software with large, color graphics corrects mounting errors, calculates shim values and provides an alignment report showing all the alignment parameters of multiturns, lathes and machining centers.
- With optional L-702SP Magnetic Base, the L-702SP can be mounted on a machine table or instrument stand for checking milling machines and similar machines.
- Rechargeable LiPo battery runs the lasers for up to 8 hours.
- Compact and rugged 4 x 2.9 x 1.7 in. (101 x 74 x 45 mm).
- Uses these accessories:
- L-702MB Mag Base Fixture – used to put the L-702MB on a metal surface for checking flatness measurements.
- L-702RA Right-Angle Mounting Fixture – used to hold the L-702SP in a spindle at a right angle to the rotation axis. Used for checking machining centers and multiturns.
- T-242 2-Axis Target Stand – has an X-Y translation stage for use in measuring linear axis straightness.
- T-243 Flatness Measuring Target Stand – has a swivel base for use in measuring flatness of guideways, surfaces and linear axes.
- Only needs 10 in. (254 mm) of space between spindle and tailstock or sub-spindle.
Specifications
Laser power < 0.9 mW
Laser Scan Plane - Auto Rotation (requires prism to be flipped into laser beam)
0.25 arc secs (.000015 in/ft or 0.0013 mm/m) in 90° sweep
± .000075 in (± 0.0015 mm) in 90° sweep
Drawings

- Call Us: +1-203-730-4600
- Email: sales@hamarlaser.com
- Website: www.hamarlaser.com


